Are you using VirtualBox on your computer? Have you installed one or more Virtual Machines, but now they are suffering from lack of disk space? What can you do to fix the problem? Should you install the system over again and install it with more disk space available? Or is there an easy way to increase the disk space of your virtual machine in Virtualbox?
If you don’t have much data on the virtual machine, some might find it easier to install the system over again, but this time with more disk space allocated to the virtual machine. But if you don’t feel like doing that, you can follow these steps to increase the disk size of your virtual machine in Virtualbox.
First, allocate more space to the virtual machine.
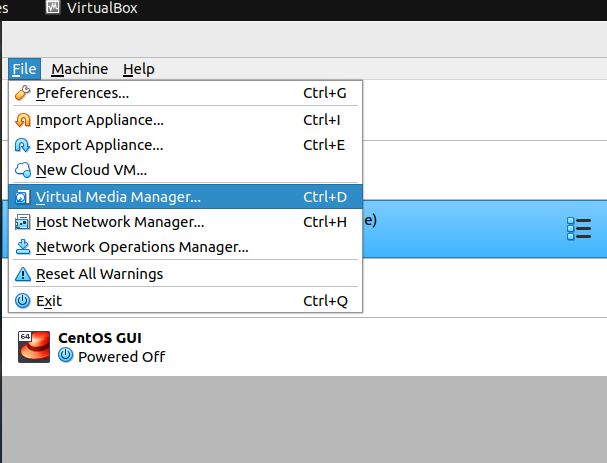
Open VirtualBox on your computer and select Virtual Media Manager.
When you have selected Virtual Media Manager, select the virtual machine you are interested in and increase the allocated space for the machine by dragging the bar towards the right. When you are finished, click apply!
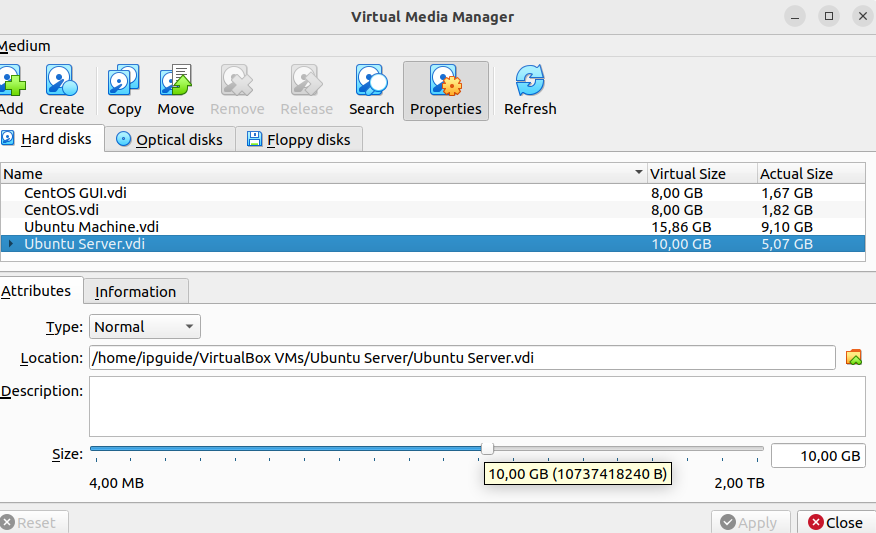
Here you can see that I have four virtual machines installed on my device. I can drag the bar towards the right to increase the size of the virtual machine. But this will not solve your problems with a lack of disk space. What is the next thing to do after applying these changes?
Change the partition settings for your virtual machine.
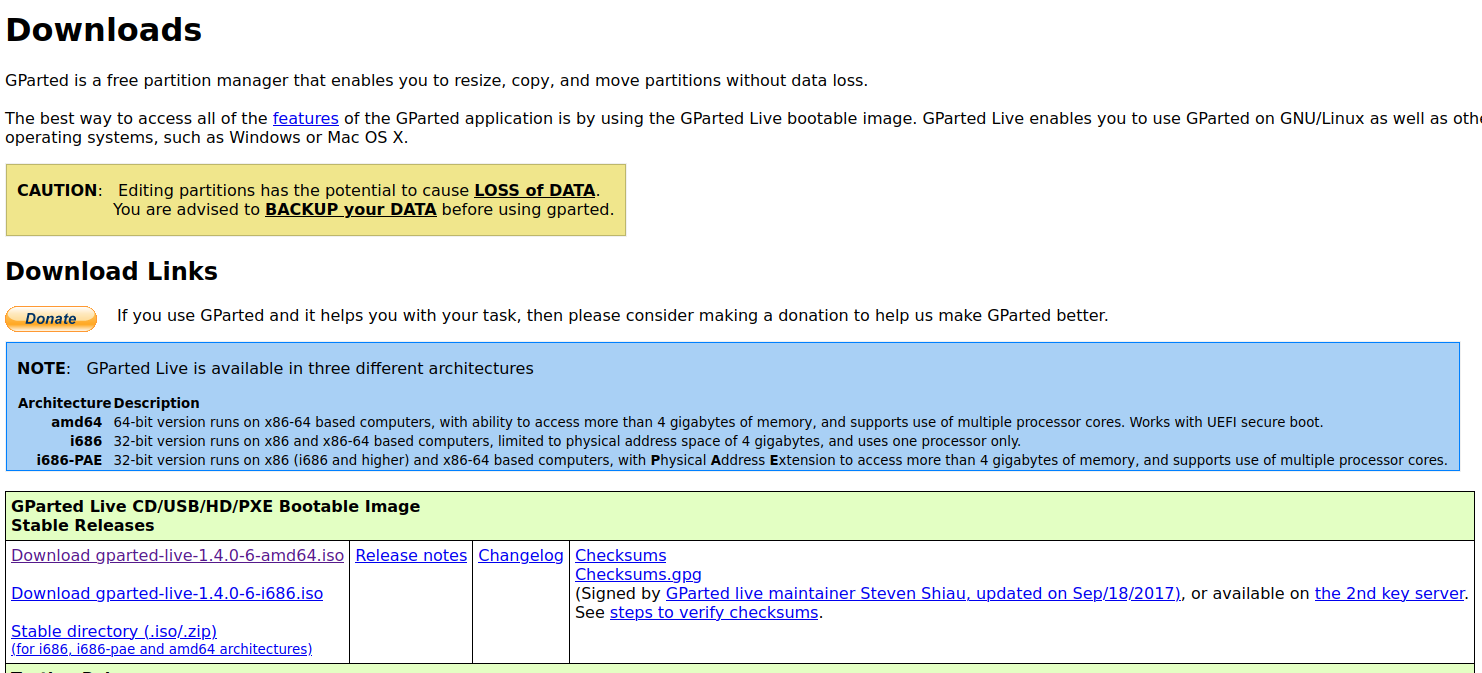
Now it is time to download an application called GParted to your device. Download the bootable image from the GParted website.
When you have downloaded the file, return to VirtualBox and open the settings for the Virtual Machine you are working with. Select Settings and then Storage. Here you will see Controller: IDE. Beneath you will see the text empty. Click the EMPTY text and select the CD on the right. Now you should find the GParted ISO file you just downloaded and select this file. It should look something like this when you are finished.

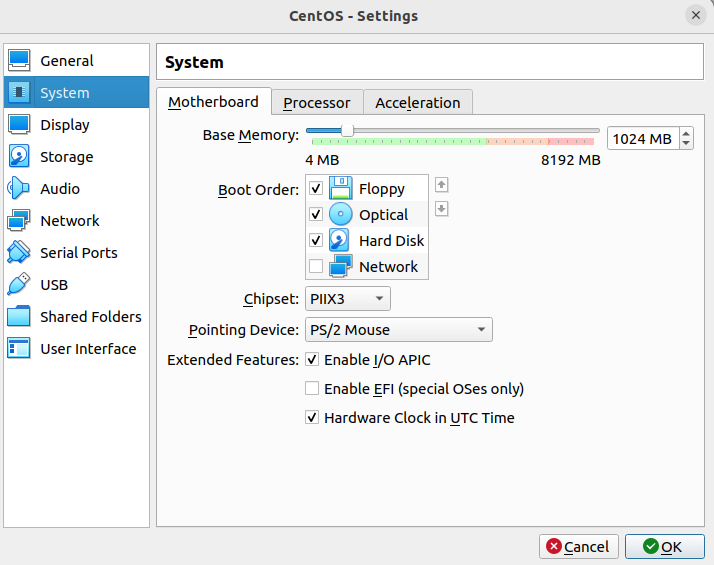
It is worth going to system settings afterward to check that the optical system is set to boot before the hard drive. This is to ensure that it will boot with GParted and not the system installed on the Virtual Machine. When you finish, you need to change the order or remove the GParted as an optical drive to boot into the normal system again.
Run the Virtual Machine, and you will boot into GParted. You can load GParted with default settings. It might ask you which keymap you want to use, and if asked, you can just select the normal interface by typing a “0”.
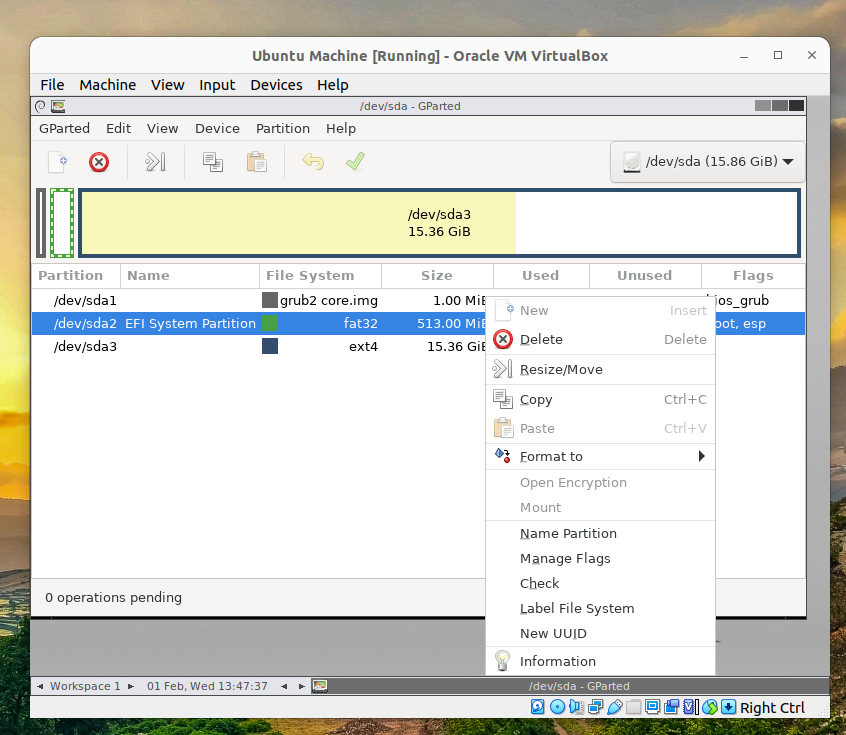
As the system starts, open GParted. The system will likely automatically suggest increasing the disk space, and you can accept those changes. If not, you can select the hard drive in use, right-click with your mouse and select Resize/Move. Drag the bar towards the right to increase the disk space. Apply the changes once you are finished.
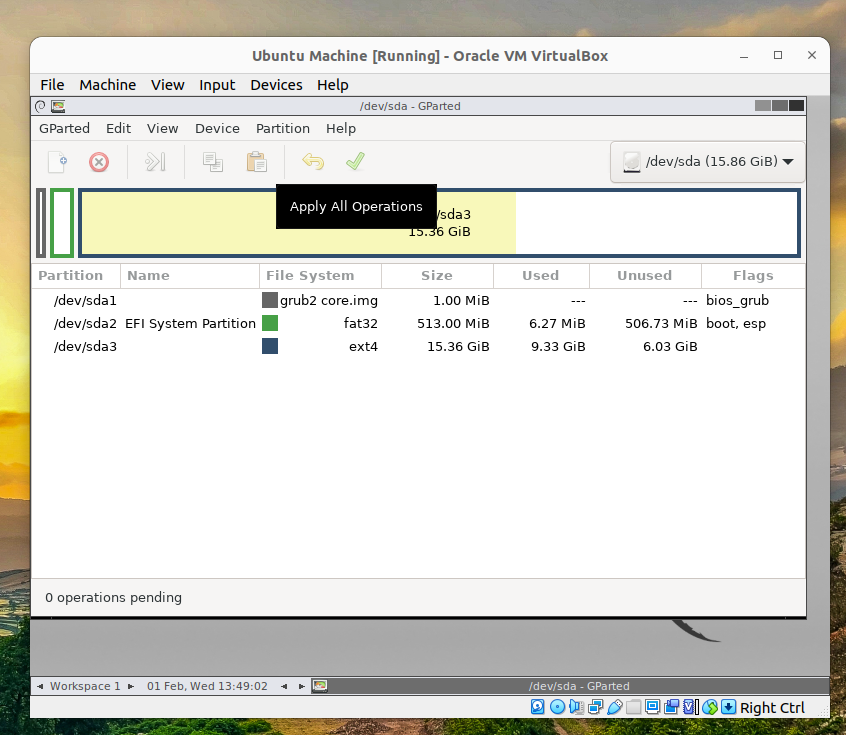
When you are finished, do not forget to click the green V to apply all operations. When this is done, exit the system.
Before you boot into your operating system, make sure to change the boot order so that the hard disk will boot before the optical drive (running with GParted).
I hope you have succeeded as you have followed these instructions. If you have remaining questions or comments, write them below. If you have succeeded based on these instructions, please also write a comment.
Would you like to read other great articles? Which is the best VPN for Linux Mint? How can you watch Brazilian Netflix abroad? Those are some interesting articles you can read in the IP Address Guide. Cheers!
