Would you like to create a testing environment for Windows on your Linux computer? Are you running Ubuntu or some other Debian based operating system (like Linux Mint)? It isn’t hard to create your testing environment for Windows using VirtualBox. This article will show you quickly how it is done!
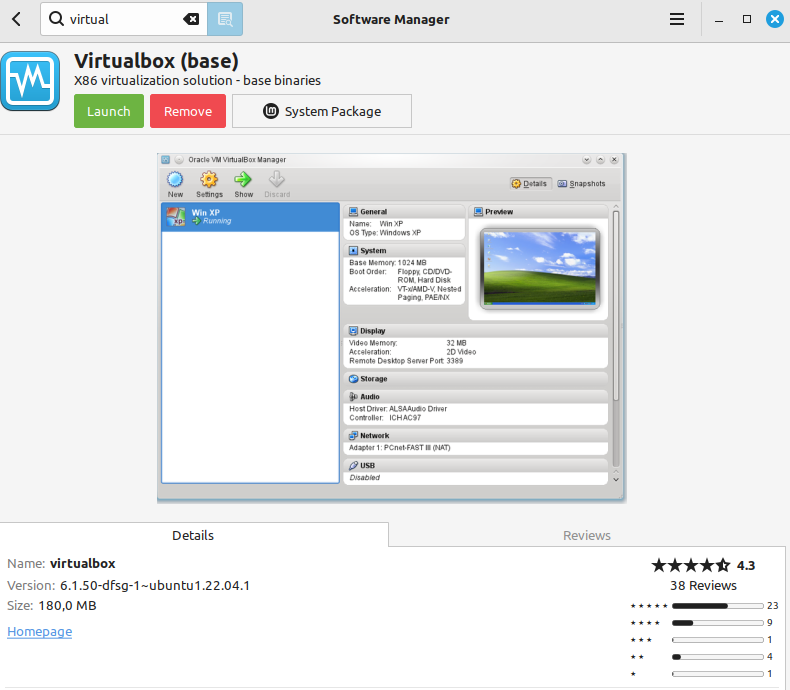
The first thing you must do is to install VirtualBox on your computer. This is a quick thing to do and you will find it in the software manager coming with Ubuntu, Linux Mint, or other environments built on Debian.
After you have installed VirtualBox, it is time to download the installation file (ISO) required to run Windows as a virtual machine on your computer. It is important that you have enable VT-x in your BIOS (if it isn’t already enabled). This is an option required for so-called Virtualization Technology. If you have an old motherboard this might cause trouble, but you will quickly discover whether it is possible or not. You should also have a computer with 8GB of memory and quite a lot of disk space, knowing that your virtual machines needs to install the Windows operating system. To install the 64-bit version of Windows 11, you should allocated at least 80GB of disk space, while the 32-bit version requires at least 50GB of disk space.
Download the Windows .iso installation file.
Now it is time to visit https://www.microsoft.com/software-download/windows11. There you select the option to download an .iso file. Select the Windows installation that you are interested in. In the picture below, I have selected the 64-bit version of Windows 11.
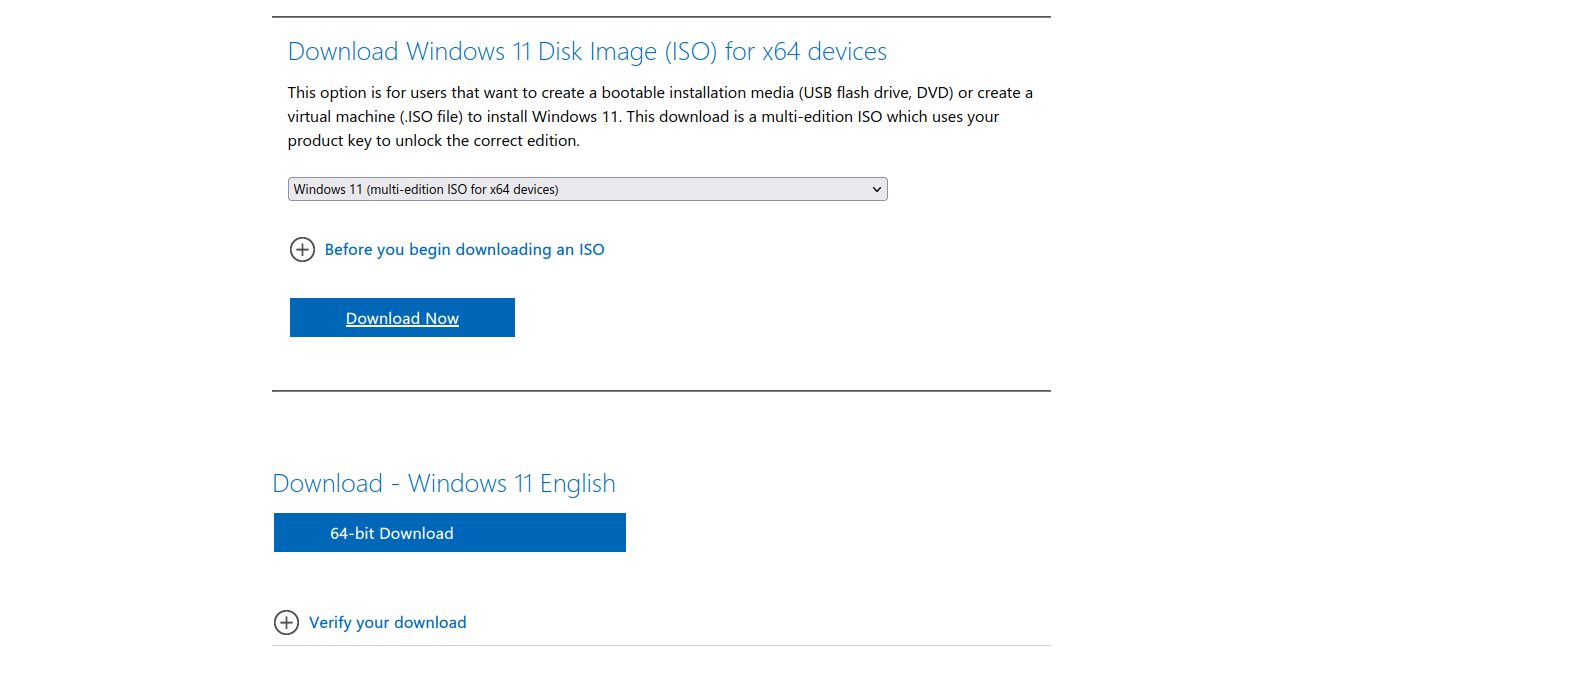
This file is big, more than 6GB, so it will take a while to download it to your computer.
When the file is downloaded, you are ready to proceed with the installation process of Windows 11 as a virtual machine using VirtualBox in Ubuntu.
Create your Windows virtual machine.
Launch the VirtualBox application and select the “new” option. You can now name your virtual machine and select the Windows version that you want to install (and to which you have downloaded the installation file).
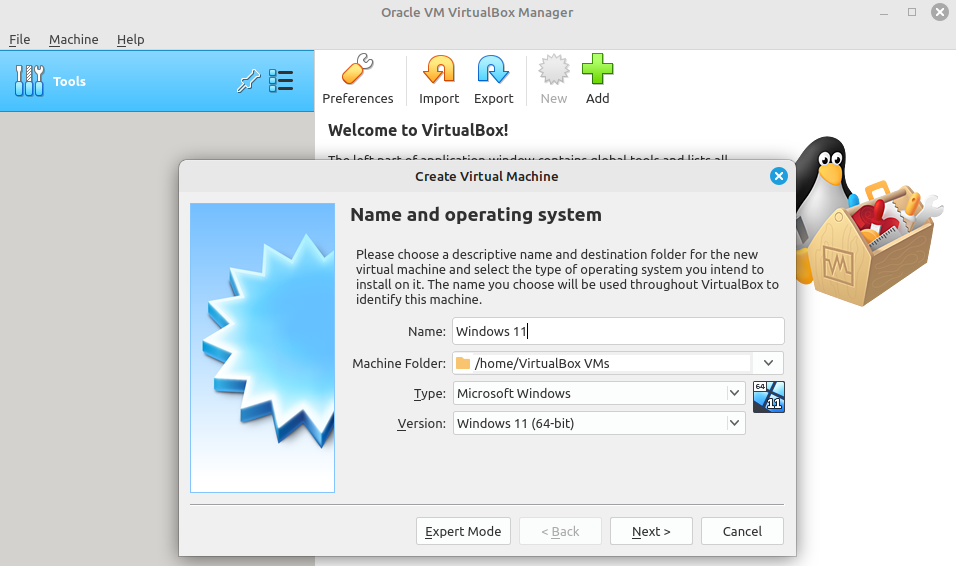
Click the “next” button to continue.
Now you must select how much memory you want to allocate to the virtual machine. The more, the better… but, do not forget that if you allocate a lot of memory to your virtual machine, it will make your normal Linux environment much slower as the ram is used for running the virtual machine. But, if you allocate to little memory, Windows will be extremely slow and hard to work with.
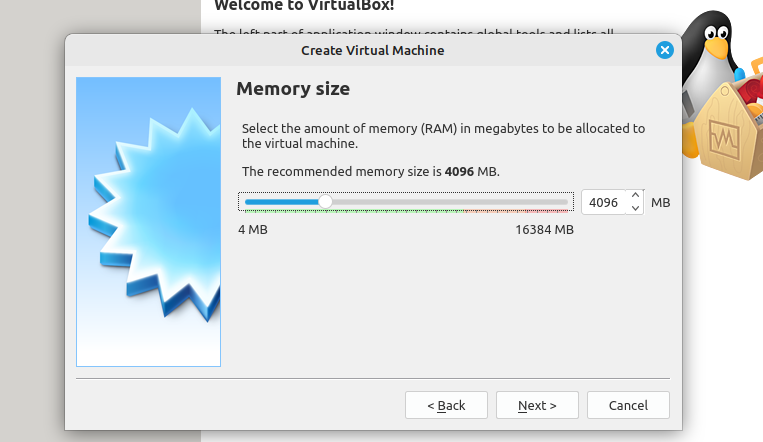
You can try with 4096 MB first (4GB), and then change this later if you want to allocate more memory.
The next thing you should do is to create the virtual hard disk now. This will “set aside” the given amount of disk space to your virtual machine.
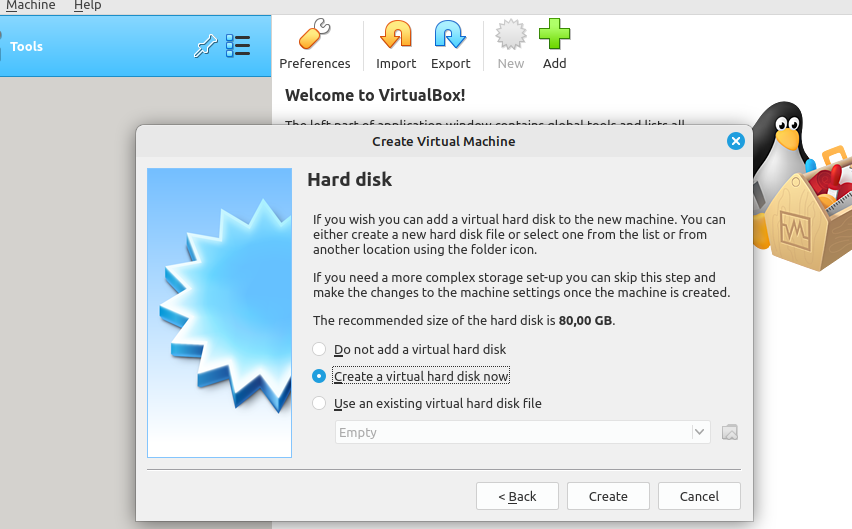
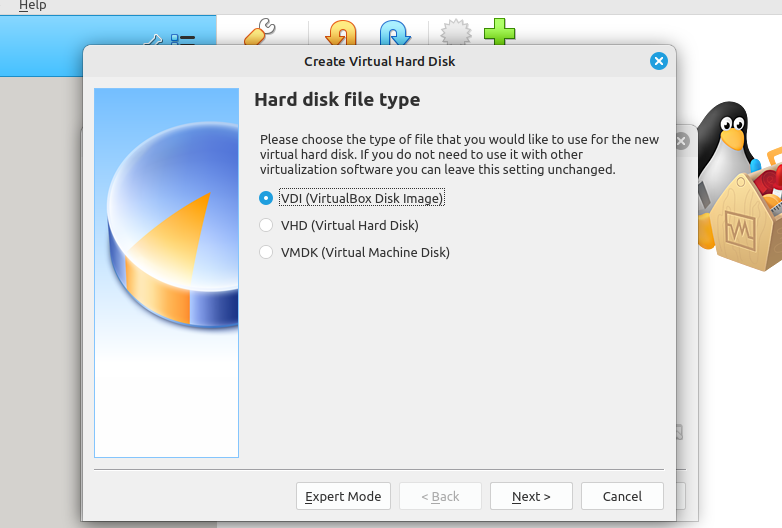
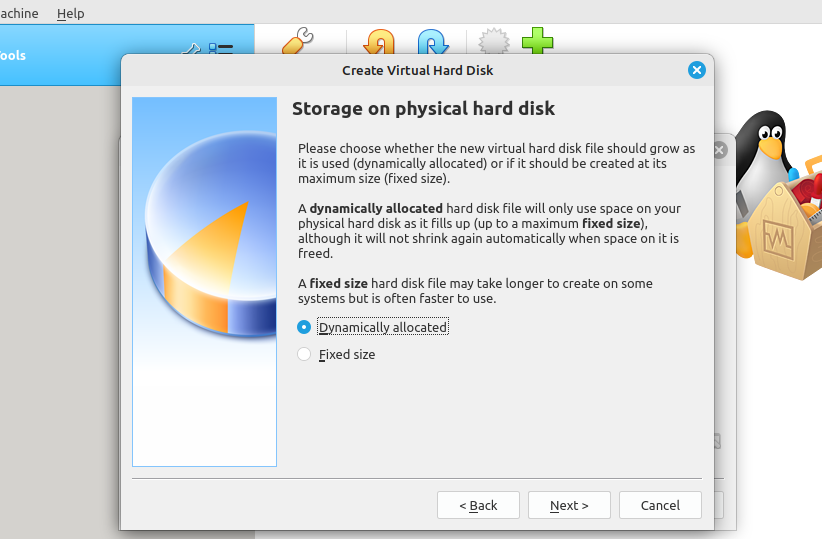
The three pictures above show the next steps in the process. You create a virtual hard disk, you can remain with the VDI option, and then choose to dynamically allocate the disk space. With this option selected, the virtual machine will only use the disk space as it goes, meaning the size will increase over time as more files are added to the virtual machine. If you select fixed size, the select size (80 GB) is immediately allocated to the virtual machine. This is a faster option, and if you don’t worry about disk space, then this is a better option.
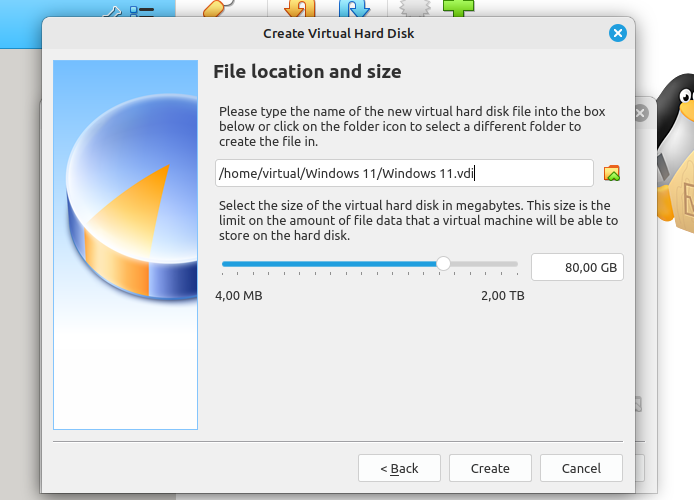
The final step is to set the location of the virtual machine. Now it is time to click the create button!
This is the last step in the process. You will now return to the basic VirtualBox application where you can see your Windows 11 machine on the list of available machines.

Click your Windows 11 machine and click the start button. You are now about to install Windows 11 on your virtual machine. It is time to select the .iso file you recently downloaded as the source of the Windows installation.
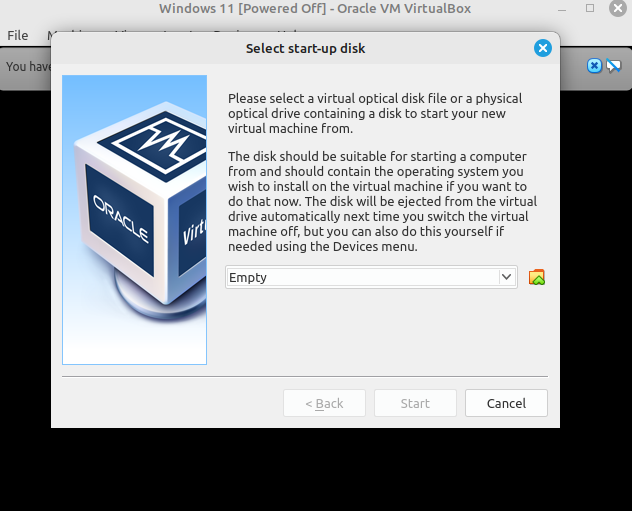
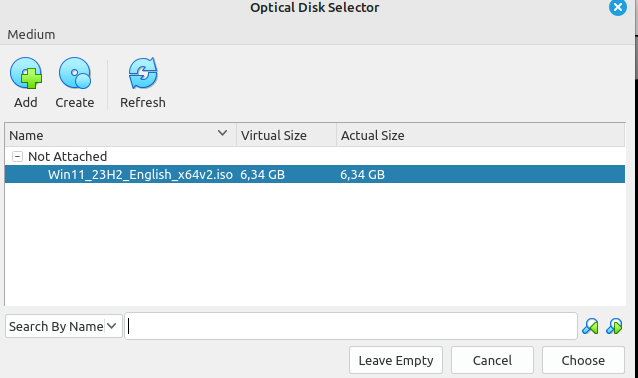
Click the folder next to the “empty” text and find the Windows installation file you downloaded. Select add from the list and select the file, and later click the “choose” button to continue with the installation.
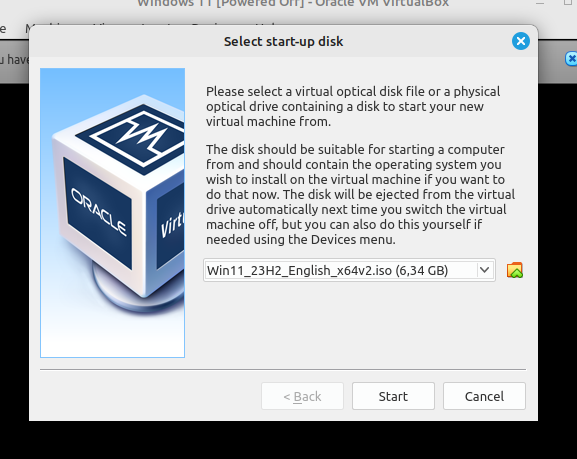
Now you will return to the installation screen again and you can click start for the real Windows installation to take place.
The installation process is now identical to the one you would experience by installing Windows on a normal computer. If you don’t have any product key that you can use, select the “I don’t have a product key” option when you are asked about this during the installation. Grab a sandwich and a cup of coffee, you are soon ready to run Windows on your Virtual Machine in Ubuntu.
I hope these instructions have helped you along the way and that the illustrations have made the process even easier. If you still have any comments or questions, use the comment field below.
