Would you like to create a stream of passive income with an OXEN node? Would you like to support the OXEN network by creating your very own node? How can you do that? Is it hard to create an OXEN node? How much can you earn with an OXEN node? In this article, I will show you step-by-step how you can create an OXEN node, tell you about the requirements, and also try to project how much you can earn with a node. But before we start, let us just take a closer look at what OXEN is all about!
OXEN is actually a coin that is a fork of Monero. In other words, OXEN is often referred to as a privacy coin. The vision of the team is to “provide a range of tools and services powered by the $OXEN cryptocurrency, enabling users and developers all over the world to leverage the power of decentralized blockchain networks to achieve unparalleled privacy and security as they work, play, and live their day-to-day lives on the internet.”

There is room for lots of applications built on this, and there are already two popular apps using this blockchain, Session and Lokinet. Session is a messaging application that is proud to send messages, not metadata. This is an encrypted messaging service that just sends the messages, without storing all sorts of data about you. Lokinet is almost like the TOR network, meaning that you surf the web without leaving your IP address around, hiding your location, and traffic is onion routed. Sounds quite cool, right? These are just two apps currently running on OXEN, but there are so many other possibilities for developers who want to use the blockchain in the future.
The token name was earlier LOKI, but it was changed to OXEN in 2020.
When you run an OXEN node, you will support the network and make it all the more decentralized. Isn’t that cool? But, how can you create an OXEN node? How much can you earn with an OXEN node? How much does it cost to create and run an OXEN node?
What is the price of an OXEN node?
To run an OXEN node on your own, you will need to own 15,000 OXEN tokens. You can see the current price of the OXEN token below.
Running a node with 15,000 OXEN tokens is very similar to simply staking your tokens. You will then receive an interest/reward for running the node. You can purchase OXEN tokens on Kucoin and on Bittrex.
How much do you earn with an OXEN node?
Based on the current rewards, you will enjoy an interest of somewhere like 15%-17% per year with your node. If you run a node with 15,000 OXEN tokens, you will receive approximately 2250-2500 tokens in rewards per year (if the rates remain at their current rate).
It is important to emphasize that when you create an OXEN node you do so because you want to support the project, and also because you believe in the project long-term, meaning that you also trust that the actual value of the token will increase with time. Running a node is voting for the project and saying that you believe it will be around for a long time!
Are you ready to create a node? Is it hard? NO! But, it might require a little time, and it might seem scary if you have no experience with Ubuntu or with using a VPS from before. But, no worries – you will find a step-by-stepy guide in this article! Let’s get started!
Time to create your first OXEN node – a step-by-step guide!
Are you ready? The first thing you need is to purchase a VPS on which you will run the node. It is possible to run it on a computer from home, but based on my personal experience, it is much easier to have a VPS running in the background and doing the job. A VPS is also much better protected against problems than your Internet connection at home, meaning that you will probably get the job done in an easier way by using a VPS.
What are the requirements for running an OXEN node?
In order to run an OXEN node, you need to meet the following requirements.
- Server operating system: Ubuntu 18.04+ or Debian 10+
- Storage: 40GB or more
- RAM: 2-4GB (2GB absolute minimum)
- Connectivity: 100Mb or faster
- Traffic: 1TB per month or more
Based on my experience, these are quite low requirements, meaning that most VPS servers will provide this at quite low prices. Personally, I recommend using Contabo which is cheap and very good, and their VPS S SSD package should be enough to meet these requirements. The price of that is $6 per month (or 5 Euro).
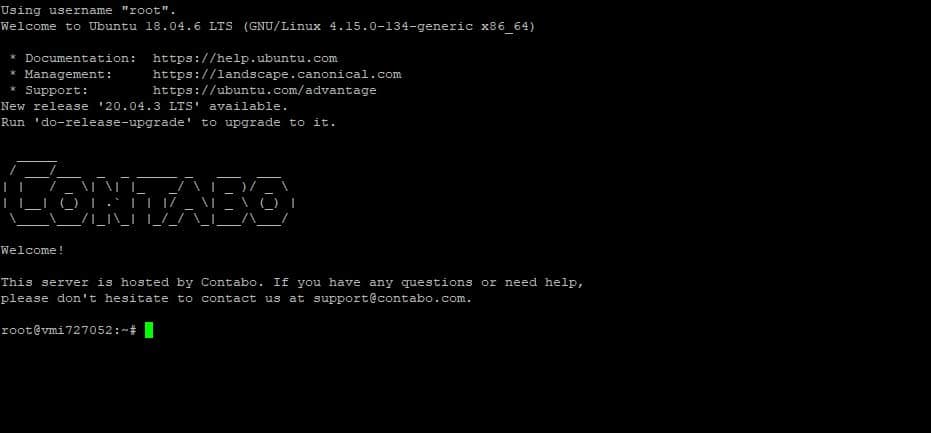
Purchase your VPS, and then use either Putty or SolarPutty to connect to your VPS server. You can log in using the login data that you have received from Contabo or your selected VPS provider.
Set up the OXEN node on your VPS
You have bought the VPS, you are logged in to your VPS server. What to do now?
Run the following commands:
sudo apt update
sudo apt upgrade -y
sudo apt-get install ufw (this might already be installed, but just to be sure)
sudo ufw allow 22020
sudo ufw allow 22021
sudo ufw allow 22022
sudo ufw allow 22025
sudo ufw allow 1090
sudo ufw allow 22 (this is the port needed for you to be able to use Putty or other SSH service to communicate with the server)
sudo ufw enable (click yes to confirm this)
sudo reboot
Your server will now reboot and it will take maybe a minute for the server to be back up and running. Let us continue!
Now you should run the following commands.
sudo curl -so /etc/apt/trusted.gpg.d/oxen.gpg https://deb.oxen.io/pub.gpgBefore the next command, you need to pay attention to the following. If you are running with Ubuntu 18.04, use the word BIONIC. If you use Ubuntu 20.04, use FOCAL, while you should use GROOVY if you use Ubuntu 20.10.
echo "deb https://deb.oxen.io FOCAL main" | sudo tee /etc/apt/sources.list.d/oxen.list
sudo apt update
You are now ready to actually synchronize your node and get it ready to work. Be aware of the fact that the next command might take several hours to run, so you might go ahead and do something completely different while waiting.
sudo apt install oxen-service-node -yWhen you run the code. you will have to add the IP address of your server. If you don’t add any IP address, the program will automatically detect the IP address of your VPS and use that for the node. That is a great solution!
If you get an error message when you try to run the command above, use the following instead. I got a little error message myself that a timeout was exceeded (hidden among several other messages), so I would suggest that no matter what, run the comment below.
sudo systemctl restart oxen-node.serviceIt is time to check the status of your node synchronization!
journalctl -u oxen-node -af (this will show a log of your node and you can see how you are progressing with the syncing process which should take about six hours)
When this is ready, your node is actually running and here you have some interesting commands you can run to get an overview of what’s going on.
oxend help (this will show all available commands)
systemctl status oxen-node
systemctl status oxen-storage-server
systemctl status lokinet-router
Time to register your node on the network and stake your tokens!
There is an option in which you create a pool in which others can stake together with you on your node (the minimum requirement is 3750 tokens per staker), but in this guide, I will base all instructions on the fact that you will own all 15,000 tokens yourself and you will be the sole individual running and staking for the node.
To get started, let us get your OXEN wallet ready and make sure that you have 15,000 tokens in your wallet.
Prepare your wallet and make sure that you have 15,000 OXEN tokens ready
The first thing you need is to install the official OXEN wallet. It can be a little bit complicated because antivirus programs in Windows will automatically consider it to be virus. In order to install the wallet, follow the official instructions from OXEN right here.
Have you followed those instructions? Have you installed the OXEN Electron Wallet? Watch out for your recovery keys (never share them with anyone). You can now see your address and you need to copy this because it will be needed in the next step. Make sure to purchase your 15,000 OXEN tokens on either Bittrex or Kucoin, and send them to your OXEN address. It is always smart to do a test transfer first in order to check that it is working properly (don’t send all your 15,000 tokens on the first attempt).
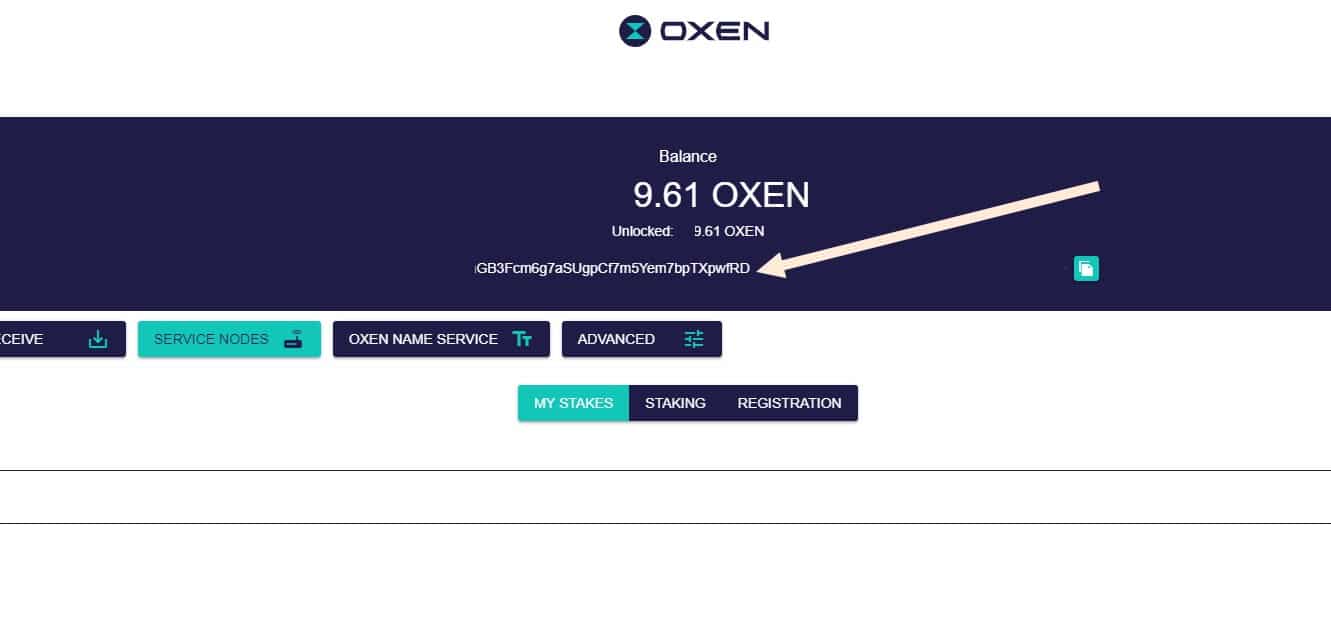
I have removed some parts of the address above, but copy your address and keep it ready. You should also send the 15,000 tokens to this address, meaning that it should be reflected in the balance as seen above.
Above you can see that the node is synchronized and ready. You can click CTRL-C to get back to the command line where you can make the final arrangements.
Now run the final commands to register your node on the network!
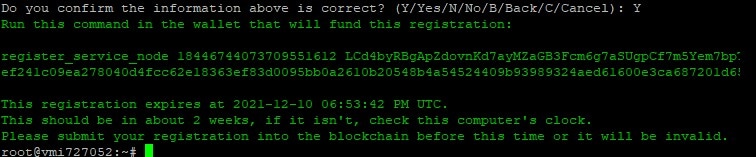
oxend prepare_registrationYou will now need to have your wallet address ready. Paste your wallet address. Then you have to confirm this in the end. You will also have to confirm that you want to stake all 15,000 tokens yourself and not run with a shared node (where you only provide a portion of the tokens needed). If you want to run a shared node, follow the instructions in this article.

You will then receive a final registration command that will look something like this:
“register_service_node 4294967292 T6TCCyDgjjbddtzwNGryRJ5Hntg – and then lots of more characters….“
Copy this command. Now it is time for the final step.
Open your wallet in Windows and choose the Service Nodes option. It is important that you have 15,000 OXEN tokens in your wallet. Choose registration and then paste the register_service_node code that you copied in the previous step.
Want to check that your node is really working?
Everything should be fine now, but if you really want to know for sure that your node is running, return to your VPS and run the following command.
oxend print_sn_keyThis will show the public key of your node. Now you can visit oxen.observer. There you can find the full list of service nodes. Copy your public key and find out if your public service key is on the list. If it is, your node is for sure running and doing its job!
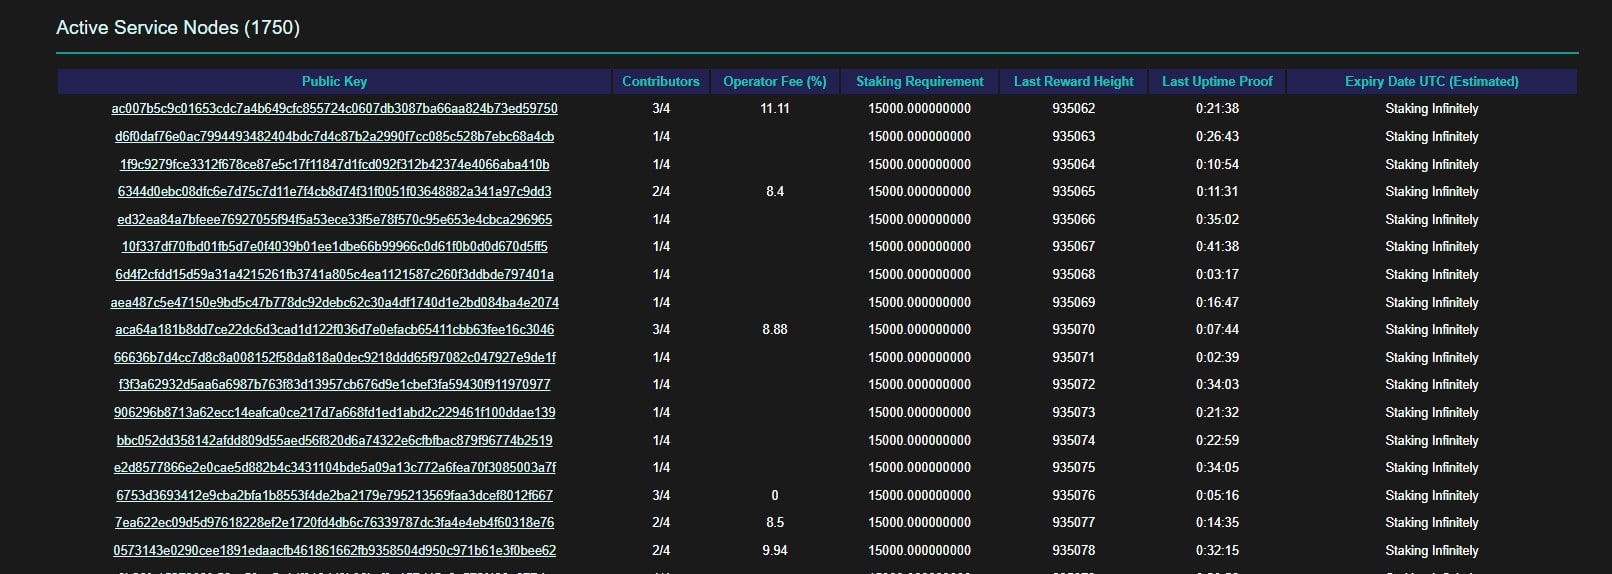
It might take a few minutes before your address gets on the list and you are ready. Your node is now up and running. You are supporting the OXEN network, and you are also earning a passive stream of tokens based on this. Have fun!
I hope you have enjoyed these instructions explaining how you can create an OXEN node. If you have any questions or comments, please use the comment field below and let me hear from you!

Thanks for the write up. Can we also get one for migrating from one VM to another?